
Carbon Fiber Performance Builds
Learn how to plan carbon fiber performance builds with fitment tips, cost insights, and insurance advice for lightweight car modifications.
Carbon Fiber and Lightweight Performance Builds: Spend on Fitment Before Finish
Start by deciding what the modification is for
The first question is not whether exposed carbon looks right on an R34 GT-R or FD RX-7. It is whether you are chasing lower weight, replacing damaged original trim, improving airflow, or building something visually different.
Those aims demand different parts. A dry-carbon bumper can save weight over an equivalent fiberglass panel, but it will not transform a road car if the original steel crash structure, glass, air-conditioning and sound deadening remain.
The Tj Hunt channel’s R34 GT-R build is useful here because it shows the appeal of a Z-Tune-style conversion: bumper, bonnet, wings, skirts and rear-wing parts can make an otherwise standard-looking R34 appear more purposeful.
That is a styling decision first, even if the parts are light. The channel’s car uses a carbon front bumper with ducts, mounting provisions and an undertray shape, but no verified whole-car weight saving is provided.
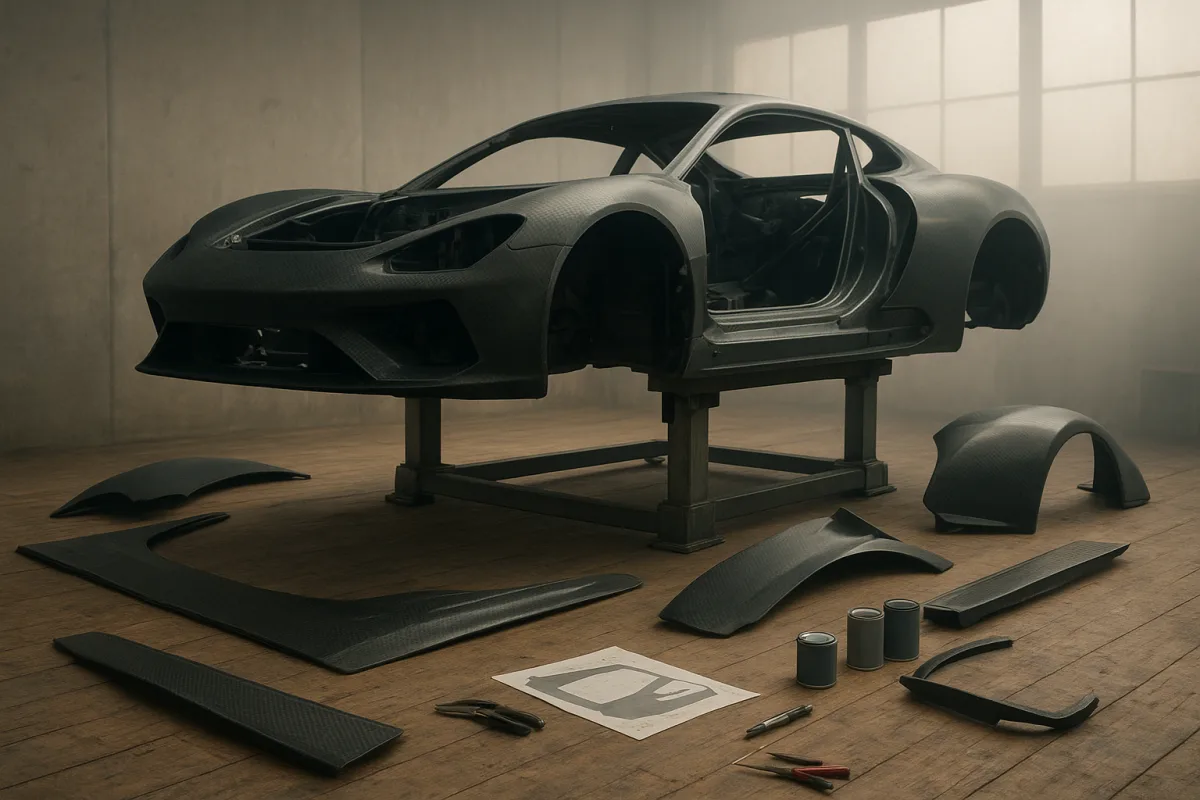
The Rob Dahm channel’s four-rotor RX-7 project makes the other case. Its large printer is being developed to make full-size bodywork patterns, allowing a bespoke carbon-composite shell rather than merely replacing a bumper with a lighter one.
That is a fabrication programme, not a weekend modification. Before ordering parts, write down the target weight saving and every component being changed, then weigh removed pieces rather than assuming carbon automatically produces a meaningful result.
Confirm the base car is worth modifying
On an R34 GT-R, originality has become part of the value. The 2026 median asking price is about $185,000, and unmodified cars generally attract the broadest pool of buyers. [7]
That does not mean a modified R34 is unsellable. It means you should retain every original bumper, wing blade, badge, indicator, liner and fastener in labelled storage, especially if the car still has factory Nismo components.
The same principle applies to an FD RX-7. The research brief places clean cars around $40,000 to $70,000, with low-mileage original examples above that range. A wild four-rotor build serves a specialist buyer, not the ordinary FD market.
I have not owned either of these particular cars, so I would not pretend to know what each conversion feels like at 60,000 miles. But ownership logic is clear: irreversible cutting, missing original parts and undocumented wiring narrow resale demand.
Photograph the car before disassembly. Photograph part numbers, factory decals, bumper supports, wiring routes and panel gaps. This is useful both for reassembly and for proving what the vehicle was before the conversion.
Choose the R34 bumper by supply and intended use
The original Nismo Z-Tune dry-carbon front bumper, part number 62020-RSR46-01, is out of production and genuinely scarce. There is no evidence of a new official Nismo run or authorised reissue in 2026.
That matters because enthusiasts often repeat that an OEM part is simply expensive. In this case it is also unavailable, so a buyer needs to assess aftermarket construction, fitment and replacement availability rather than wait indefinitely for Nismo stock.
Carbonetics lists its R34 Z-Tune Dry Carbon Front Bumper at $5,500, made to order with a quoted six-to-eight-week lead time. It suits the owner prioritising dry-carbon construction and a known production route over the lowest purchase price. [1]
AeroLuxe Auto Boutique’s Spec-ZTN carbon-fiber front bumper is listed at $3,000, with 2x2 weave and black mesh. It suits a road or show build where appearance and a lower entry price matter more than chasing an unavailable Nismo item. [2]
Carbon Showroom lists the EPR USA Nismo and 1:1 S Tune Style front bumper and lip from $320. It suits a budget-led project only if the seller confirms the exact material, configuration, stock status and shipping arrangement first. [3]
That low figure needs context. Carbon Showroom labels it an “Order Incoming Item,” so it is not comparable to a confirmed made-to-order dry-carbon panel without a direct conversation about what is actually supplied. [3]
Stratec Systems lists a dry-carbon Z-Tune-style front bumper at approximately $3,400, but shows it as out of stock with a notification option. It suits a buyer willing to wait, rather than someone whose body shop has a fixed booking. [4]
None of those prices includes the costs that usually spoil a neat online comparison: crating, freight, import duty where applicable, paint or UV-clear finishing, body-shop hours, transferred hardware, brackets, mesh and replacement clips.
Check fitment before paint or clear coat
The expensive mistake is booking paint because a panel looks good in photographs. First carry out a dry build using the bumper support, headlights, bonnet, wings, undertray, liners, indicators, ducting and grille pieces that will stay on the car.
The Tj Hunt channel’s R34 installation showed why this matters. Its All Street bumper and wings had provisions for badges, lights and trim, and the team transferred original clips before doing a trial fit.
That is encouraging, but it is not independent proof that every example fits every car. The installation is promotional content, and the car may have straighter structure, better hardware and more workshop support than an ordinary imported R34.
Ask the supplier whether the bumper accepts OE indicators, turn signals, badge holes, factory grille fittings and the original front undertray. Ask whether it expects an S-Tune or Z-Tune-specific liner, crash beam, intercooler pipe route or bonnet latch arrangement.
Then fit it unpainted. Check tyre-to-liner clearance at full lock and full bump, especially on lowered cars with wider wheels. Also inspect whether the lower edge leaves the radiator, oil cooler and intercooler properly supported.
Carbon parts do not forgive casual mounting. A stressed mounting ear, overtightened fastener or unsupported splitter can crack the resin around the fixing long before the visible weave itself is damaged.
Use the correct foam, rubber isolators and washers where the manufacturer supplies them. The Tj Hunt channel specifically noted foam on carbon rear-wing risers, a small detail that can prevent vibration, paint damage and water-trapping contact points.
Do not mistake a printed plug for a carbon body
The four-rotor RX-7 work shown by the Rob Dahm channel is a good illustration of the real workflow. The large printer is not simply producing finished carbon panels, it is producing large shapes that can become tooling or patterns.
The printer itself first had to recover from shipping damage, bent frame components and an uneven bed. The channel measured bed variation of roughly millimetres, then spent time squaring rails, replacing structure and recalibrating before useful large prints began.
That sequence is the warning for anyone pricing a printed carbon body. A printer capable of physically fitting a bumper is only the start, because dimensional accuracy, warping, support design and surface quality determine whether the resulting mould is usable.
The RX-7 project also found that a larger printer can print a full duct in one piece where a smaller machine would require sections. Avoiding joins helps, but does not remove the need to control warping during long prints.
Carbon-fiber-filled nylon is also not cheap material. The research brief cites $66 for a 180 cm³ carbon-fiber nylon part, versus $25 for PLA, before failed prints, support material, sanding, sealing or mould-making.
Use carbon-fiber-filled filament where its stiffness and heat resistance make sense for a prototype, duct, jig or pattern. Do not assume it has the same structural behaviour, surface finish or crash performance as a laid-up carbon composite panel.
Abrasive filled filament requires hardened-steel or ruby nozzles. Budget for those consumables, calibration time and a mechanically flat build surface, because a printer compensating electronically for a poor bed may still produce unreliable large parts.
If the aim is a visible finished panel, add the unglamorous stages: smoothing the print, sealing it, making a mould, laying carbon, curing, trimming, drilling, clear-coating and trial-fitting. Professional FDM printing can cost $75 to more than $500 per part before that work.
Keep the car legal where it is registered
For a US-registered R34 GT-R, import eligibility under the 25-year rule does not provide a blank cheque for modifications. Safety and emissions compliance still matter, particularly when bodywork affects lighting, bumper systems or structural mounting points.
Do not cover or relocate indicators, side markers, number plates or lamps merely because the carbon bumper has a cleaner shape. Keep documentation showing how lighting, cooling and safety equipment were retained after the conversion.
In Japan, readily attachable non-structural aftermarket parts may avoid prior notification under 2026 updates, but substantial structural changes still require approval through the Ministry of Land, Infrastructure, Transport and Tourism process. A full custom body deserves local advice before construction.
European owners need to be more cautious about component approval and e-mark requirements. Replacement parts must not impair safety, lighting or emissions compliance, and the EU type-approval framework remains the relevant standard. [8]
For a UK car, notify the DVLA where required for structural changes and use a specialist installer when the work alters safety-related structure. A carbon bonnet or bumper may be straightforward, while a radically altered shell is a different category of risk.
Insure the finished car, not the standard one
Tell the insurer before fitting the first panel. Progressive notes that insurers may offer custom-parts coverage, but the policy wording and limits matter, especially when modifications increase both repair cost and declared vehicle value. [5]
Standard policies often only include $1,000 to $3,000 for aftermarket parts, which can disappear into one carbon bumper, wing and fitting session. Custom Parts and Equipment coverage is the minimum conversation, not an optional extra. [6]
For a heavily modified R34 GT-R or four-rotor RX-7, ask about agreed value rather than assuming market value will recognise fabrication costs. Insurers can otherwise value the car as a modified standard model, not as a documented specialist build.
Keep supplier invoices, freight bills, installation invoices and dated photographs. Include serial numbers or identifiable weave and hardware photographs where possible. If a panel is discontinued or made to order, replacement time is as relevant as replacement price.
Finally, plan for repair rather than assuming a damaged carbon panel is scrap. Small cosmetic damage may be repairable by a composite specialist, but mounting-area cracks, distorted panels and compromised structural pieces need a professional judgement before the car returns to the road.
Frequently Asked Questions
How do I ensure proper fitment of carbon fiber parts on my car?
Before purchasing carbon fiber bodywork, confirm mounting points, lighting provisions, and cooling clearances on your exact car model. An inexpensive panel that requires fabrication can end up costing more than a properly made dry-carbon part. Photograph your car and original parts before disassembly to aid reassembly and verify fitment.
What should I budget for a carbon fiber front bumper for an R34 GT-R?
For an R34 GT-R Z-Tune-style front bumper, budget between $3,000 and $5,500 before shipping, paint, hardware, fitting, and possible repairs. Original Nismo dry-carbon bumpers are no longer produced and are extremely rare, so aftermarket options vary in price and availability.
Why is it important to declare carbon fiber modifications to insurance?
Carbon fiber modifications increase vehicle value and repair costs, often raising insurance premiums by 20–90% or more. Standard policies usually cover only $1,000 to $3,000 for aftermarket parts, so declaring modifications and arranging Custom Parts and Equipment coverage or an agreed-value policy is necessary to ensure proper protection and avoid claim denial.
What are the benefits of carbon fiber in lightweight performance builds?
Carbon fiber parts can save weight compared to equivalent fiberglass panels, which may improve performance. However, weight savings depend on the extent of modifications, as retaining original heavy components like steel crash structures and sound deadening can limit overall reduction. Carbon fiber also offers styling benefits, such as making an R34 GT-R appear more purposeful.
How do I decide if my car is worth modifying with carbon fiber parts?
Consider the car’s originality and market value before modifying, as original cars generally have broader resale appeal. Retain all original parts carefully for potential reassembly or resale. Define your modification goals—whether weight reduction, styling, or airflow improvement—and weigh removed components to verify actual weight savings rather than assuming carbon fiber automatically reduces weight.
How we researched this
This article was assembled from 2 video sources across 2 channels, 8 cited references.
Nothing here is based on hands-on testing. Where a figure or finding appears, it belongs to the source cited beside it, and the writing says so rather than implying otherwise. Every source is listed below so you can check it.
Sources
Building a Carbon Fiber R34 GTR! — Tj Hunt
We can FINALLY make our Carbon Fiber Body for the 4 Rotor RX-7! — Rob Dahm
R34 Z-Tune Dry Carbon Front Bumper For Nissan Skyline R34 GTR
AeroLuxe 99-02 Nissan Skyline R34 GTR Spec-ZTN Carbon Fiber Front Bumper – Legacy Racing
Dry Carbon Fiber Z Tune Style Front Bumper for Nissan Skyline R34 – STRATEC SYSTEMS
Modified Cars: Custom Parts and Equipment Coverage | InsureCompareNow.com
Nissan Skyline GT-R R34 Price Guide 2026 — Values, Prices & Market Data | CarSearch.Pro
Watch Carbon Fiber and Lightweight Performance Builds on Youtube
Also from the sources
Related Articles
R34 GT-R Performance Build: Import, Mods & Ownership Tips
Learn key tips for R34 GT-R performance builds, from import and insurance to carbon bodywork and specialist labor budgeting.

Mat Armstrong Overcomes Lamborghini Revolto Technical Challenges on Epic Journey
Mat Armstrong faces technical challenges driving his Lamborghini Revolto across the country, dealing with a crash code and hybrid battery issues. Despite struggles, the team perseveres, using innovative solutions to overcome obstacles on their journey to Monaco.

Race Against Time: Rebuilding a GT3 RS for Mr. JWW in 24 Hours
Mat Armstrong races against time to rebuild a damaged GT3 RS for Mr. JWW after a Nurburgring mishap. The team tackles airbag deployment, a blown dash, and a pyro fuse issue, aiming for a 24-hour turnaround. Follow their high-stakes journey of automotive restoration.

Reviving a Lamborghini Revoltto: Overcoming a Power Cut-Off
Mat Armstrong's Lamborghini Revoltto undergoes a £425,000 transformation but remains unstartable due to a crash-induced power cut-off. The team attempts a workaround by addressing the battery management system issue, successfully installing a new battery to revive the car.