
Holden Monaro Barra Engine Build and 4 Rotor Supra Exhaust
Explore the Holden Monaro Barra engine build process and four rotor Supra exhaust testing, covering fitment, brakes, costs, and performance insights.
Start by defining what “finished” means
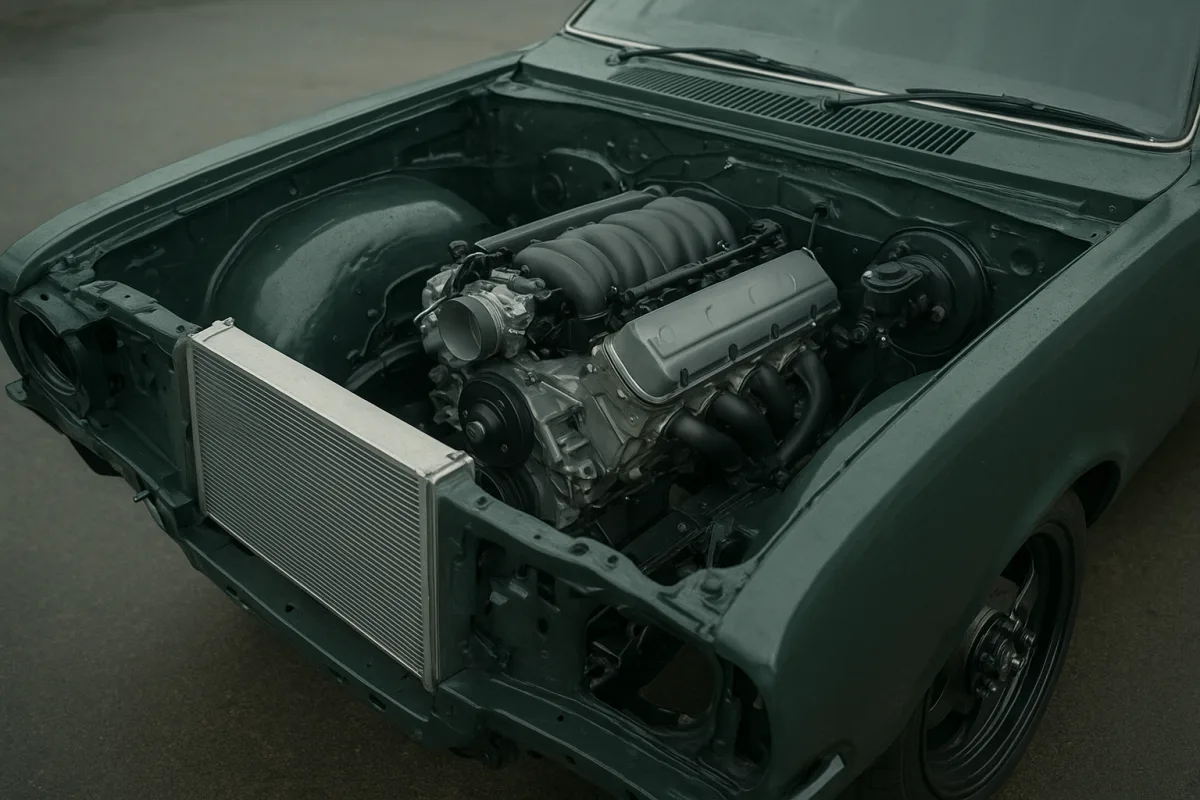
A Barra swap into a Holden Monaro can sound straightforward on paper. The Holden has a long engine bay, rear-wheel drive and enough mass that a turbocharged straight-six does not look inherently ridiculous. The actual job becomes complicated once bonnet height, sump position, gearbox electronics, brakes and registration are considered together.
Mighty Car Mods’ red CV8 Holden Monaro build is based around a built Ford Barra inline-six and a ZF 8HP automatic transmission. The channel’s installation work shows the sensible order of operations: make the chassis stop and roll properly first, then establish physical engine and transmission fitment.
Do not use the channel’s earlier Toyota Cresta result as a promised Monaro output. Mighty Car Mods recorded about 600 wheel horsepower and a sub-10-second quarter-mile from a mildly modified Barra-powered Cresta, but that used a smaller turbo and a Turbo 400 transmission in a much different package. [6]
The available independent research is clearer still: verified power and torque numbers for the completed Barra Monaro were not publicly available by September 18, 2026. A standard 5.7-litre Monaro V8 figure of roughly 306 hp and 460 Nm is only useful as background, not as a comparison for a completed turbo Barra swap. [7]
Make the car stop before making it faster
The most expensive mistake on a high-power conversion is treating brakes as a final cosmetic upgrade. The Mighty Car Mods Holden Monaro retained its original vehicle weight while planning substantially more than the factory engine’s output, which means repeated braking becomes the important consideration, not one emergency stop.
The channel fitted a custom package based around Cadillac CTS-V brake hardware: 370 mm front rotors and 360 mm rear rotors, with braided hoses, adapters and retained drum-style handbrake hardware. The larger rear discs required trimming the perimeter of the backing plates, while the fronts needed more limited dust-shield trimming.
That installation detail matters if you are pricing a similar arrangement. The factory brake-line bracket was integrated into the original hose assembly, so it had to be cut free and reused to retain the braided line. This is the sort of small fabrication task that separates a kit fitting from a genuinely bolt-on conversion.
Do not assume a CTS-V brake kit will directly fit every CV8 Monaro because somebody has made it work once. Current research says genuine CTS-V-to-early-Monaro compatibility is poorly documented, and an off-the-shelf genuine GM package is not readily available. A specialist needs to confirm caliper offset, rotor hat position, hub dimensions and wheel clearance.
Monaco Motorworks sells custom packages using second-generation CTS-V six-piston front and four-piston rear calipers for $2,750 to $3,000, with a stated lead time of more than four weeks. That price covers the brake package, not necessarily shipping, wheel changes, installation, brake fluid or engineering approval. [3]
A Brembo front kit intended for 2009 to 2015 Cadillac CTS-V models is listed at $5,295 with six-piston calipers and 405 mm drilled rotors. It is not a Monaro kit, and fitting it would require modifications, so it is a poor starting point unless a brake specialist has already measured your car. [3]
Wheel choice follows brake choice, not the other way around. Mighty Car Mods used 19-inch wheels from a VZ HSV and expected possible spacing work around the large calipers. It paired them with Michelin Pilot Sport 4S tyres, 245-section fronts and 265-section rears, aiming for rear grip without contact under compression.
Solve Barra fitment on the hoist, not after paint
A Ford Barra is physically tall, wide and heavy. In the Mighty Car Mods installation, the engine’s rearward lean and the Monaro’s sloping bonnet line put the likely clearance issue at the front upper area of the engine, rather than simply at the firewall.
The basic lesson is to trial-fit the complete engine and transmission before committing to intake plumbing, radiator mounts, exhaust routing or bonnet finishing. A bare block can give false confidence. The installed engine needs its sump, accessories, intake arrangement, mounts and actual gearbox attached.
Mighty Car Mods used a Tough Mounts conversion kit as the basis for installation, while making clear that further custom work would still be necessary. That is the right expectation for any commercial mount kit in a swap: it may establish engine position, but it will not necessarily solve driveshaft, cooling, exhaust and transmission-control issues.
Sump and dipstick location are easy to overlook until the engine is hanging over the crossmember. The channel’s engine was an FG naturally aspirated Barra block converted for turbocharging. Because that block lacked a front dipstick provision, the build used a front sump and welded a dipstick fitting into the sump.
That is not a detail to copy blindly, but it illustrates the point. Confirm oil pickup, sump clearance, steering-rack clearance and dipstick access as one package. An engine that physically clears the crossmember is not usable if you cannot accurately check its oil level or remove the filter.
Cooling should be assessed during the first mock-up. The Mighty Car Mods crew expected the Monaro’s existing radiator not to work with the Barra installation. Measure fan depth, upper hose routing, turbo-side heat exposure and service access before ordering an alloy radiator that merely fits between the headlights.
Budget for the bits that do not appear in the engine listing
The cheap used Barra is rarely the costly part. A 2026 general engine-swap guide puts used engine costs at $800 to $2,500 depending on condition. That does not include a rebuild, turbo system, ECU, loom, gearbox controller, mounts, intercooler, fuel system, exhaust, cooling or freight. [2]
General labour estimates of $1,000 to $3,000 are plausible only as a broad starting point. [3] A clean conversion with a workshop-developed package can sit near that range, but a one-off installation needing wiring diagnosis, custom fabrication and repeated dyno work can run far beyond it.
Supporting parts are estimated at $1,000 to $5,000 in general swap-cost guidance. [4] For this particular combination, that category needs to include an 8HP-compatible controller, transmission mounts, tailshaft work, cooling changes, intercooler plumbing, fuel-system upgrades and a complete exhaust, not just a set of engine mounts.
Leave money for diagnostics and calibration. Tuning and diagnostic work is commonly estimated at $450 to $1,200, but that is not a guarantee of a finished, road-mannered calibration. [5] The difference between an engine that makes a number and one that starts hot, idles cleanly and shifts consistently is usually paid for in development time.
The 8HP transmission itself deserves careful selection. Mighty Car Mods notes that the larger 8HP variants differ physically from smaller versions, while units identified with 70, 75, 90 and 95 ratings have internal differences despite broadly similar architecture. Obtain the exact donor identification before buying adapters or a controller.
Do the paperwork before the final tune
A modified Monaro can become difficult to insure if the insurer learns about the engine conversion after a claim. General swap guidance specifically flags emissions requirements, state-level rules and the need to notify insurance providers. [3] Keep receipts, engine numbers, engineering documents and photographs throughout the build.
The legal position is not simplified merely because federal greenhouse-gas rules changed. The EPA rescinded the 2009 Greenhouse Gas Endangerment Finding and related new-vehicle greenhouse-gas standards in February 2026, but that does not remove state rules, local inspection requirements or anti-tampering obligations. [1]
For American owners, custom exhaust work and removal or alteration of emissions equipment can attract serious penalties. The research brief cites penalties exceeding $4,400 per violation for prohibited tampering. State rules, particularly in California, can be more restrictive than the federal baseline. [3]
The practical approach is to speak to the relevant registration authority, emissions-testing body and insurer before the engine’s first start. Ask what engine-year rules apply, whether the vehicle needs an engineer’s report, and whether catalytic converters, evaporative controls or noise testing are required.
Choose the four-rotor exhaust by the power curve
The four-rotor Toyota Supra built by Adam LZ is a useful warning against choosing pipe diameter or collector size by instinct. Its objective was not maximum peak horsepower. The car needed torque across the middle of the rev range, predictable throttle response and enough mechanical sympathy to survive drifting.
Adam LZ initially tested a 4-inch exhaust against a 3.5-inch alternative while using a long-runner intake. The 3.5-inch system showed essentially no measurable power loss in that comparison, while offering greater chassis clearance and a stiffer, less damage-prone installation than the larger pipe.
That clearance is not theoretical on a drift car. The channel identified inadequate bracketry, exhaust heat and normal drift abuse as contributors to exhaust deformation. A smaller, better-supported pipe can be a better ownership decision than a larger system that drags, cracks mounts or repeatedly contacts the chassis.
The test also tried a 2.5-inch merge collector in place of the existing 3.5-inch merge. The theory was that the smaller throat and shallower merge might improve pulse scavenging and mid-range torque. Instead, the car fell away heavily above roughly 7,000 rpm, making the original collector the preferred part.
That result is particular to this four-rotor, header and intake arrangement. There is no published controlled data that quantifies 2.5-inch versus 3.5-inch merge-collector behaviour across four-rotor engines. General collector theory can guide a first design, but the result must be verified on your own engine and exhaust layout.
Test intake length after exhaust work is stable
Once the exhaust was settled, Adam LZ’s team moved to inlet trumpet length. The long intake runners gave the Supra stronger torque but sacrificed some peak power, while very short runners made more high-rpm power and gave away too much usable mid-range for drifting.
Intermediate trumpet lengths did not produce the hoped-for breakthrough. A slightly shorter version, around 15 mm shorter than the original long trumpets, was effectively similar at the top end and slightly weaker in the mid-range. The final decision was to retain the long-runner arrangement already on the engine.
That outcome is worth remembering before spending money on fancy intake parts. A shorter stack can move the torque peak upward, but bellmouth shape, airbox packaging and runner geometry all affect the result. Adam LZ even noted that a future short-runner arrangement with extensions could behave differently from the shortest possible setup.
Do not finish calibration on the dyno alone. After dyno work, the Supra received road and drift-focused tuning to address different load zones. The final setup was said to make about 510 to 515 horsepower with a broad mid-range, rather than chasing its earlier 600-plus-horsepower, high-rpm configuration.
The reported benefit was a car that could roll into power without repeated clutch kicks, rather than sitting on the limiter at 10,000 rpm. It also became smoother at partial throttle, which the team associated with an equal-length header removing a previous resonance-related dip in the curve.
Finally, manage heat after hard running. Adam LZ’s Supra uses external electric water pumps and fans, allowing coolant circulation after shutdown. A normal mechanically pumped road car does not have that protection, so switching it off immediately after a hard pull can leave coolant heat-soaked in the engine.
Frequently Asked Questions
What are the main challenges in swapping a Barra engine into a Holden Monaro?
The Barra swap involves complex fabrication and compliance work beyond just fitting the engine. Challenges include bonnet height, sump position, gearbox electronics, brake upgrades, cooling system modifications, and registration compliance. Proper fitment requires trial-fitting the complete engine and transmission with all accessories before finalizing mounts, exhaust, and radiator placement.
How much does a Barra engine swap cost for a Holden Monaro?
Typical costs include $800 to $2,500 for a used engine, $1,000 to $3,000 for labor, $1,000 to $5,000 for supporting hardware like mounts and cooling, and $450 to $1,200 for tuning. These figures vary based on condition, complexity, and parts availability, with additional costs possible for compliance and insurance.
What brake upgrades are needed for a high-power Barra-powered Monaro?
Upgrading brakes is critical before increasing power. The Mighty Car Mods build used Cadillac CTS-V hardware with 370 mm front and 360 mm rear rotors, braided hoses, and custom adapters. Modifications to dust shields and brake-line retention are necessary, and specialist consultation is recommended as off-the-shelf kits are not readily compatible with early Monaros.
How to ensure proper fitment of a Barra engine in a Holden Monaro?
Fitment should be verified on the hoist with the engine fully assembled, including sump, accessories, intake, mounts, and gearbox. This prevents surprises with clearance issues, especially at the front upper area near the bonnet. Commercial mount kits provide a starting point but usually require custom work to address driveshaft, cooling, exhaust, and transmission control integration.
What are the effects of different exhaust sizes on a four rotor Supra's performance?
On Adam LZ’s four-rotor Toyota Supra, a 3.5-inch exhaust maintained power compared to a 4-inch system while improving clearance. However, a smaller 2.5-inch merge collector reduced high-rpm output. This suggests tuning for usable torque and load-area performance is more important than maximizing peak power, especially for drifting applications.
How we researched this
This article was assembled from 3 video sources across 2 channels, 7 cited references.
Nothing here is based on hands-on testing. Where a figure or finding appears, it belongs to the source cited beside it, and the writing says so rather than implying otherwise. Every source is listed below so you can check it.
Sources
The Final 4 Rotor Setup — Adam LZ
BARRA + 8HP goes into the Holden Monaro — Mighty Car Mods
How Much Does an Engine Replacement or Swap Cost? (2026 Price Guide) – DMV JDM Depot
Engine Swap Cost: Labor, Emissions Laws, and Insurance - LegalClarity
Pull Sheet — Dyno days, pull sheets and what an engine actually made
Watch Holden Monaro Barra Engine Build and 4 Rotor Supra Exhaust Testing on Youtube
Also from the sources
Related Articles
Modern Performance Car Engine Tuning
Explore modern performance car engine tuning, including airflow, intake runners, exhaust collectors, and rotary engine maintenance insights.
Transforming a 2025 Nissan Frontier Pro 4X with Nismo Upgrades
Watch throtl upgrade a 2025 Nissan Frontier Pro 4X with Nismo parts and expert help from Chris Forsber. From suspension to lighting, follow the transformation.
Abandoned Mercedes Rebuild: Custom Exhaust, Widebody Kit & 418 HP Dyno Run
Witness the epic transformation of an abandoned Mercedes with a 5.2 L Ford Voodoo crate engine. From a custom Magnaflow exhaust to a widebody kit and forged HRE wheels, this rebuild is a true showstopper. Feel the power of 418 wheel horsepower on the dyno and experience the thrill of smoky burnouts in this impressive rebuild journey by throtl.

Gintani Podcast Debut: A Journey Through Cars and Family Bonds
Join the Gintani brothers on their debut podcast episode as they discuss diverse guest plans and reminisce about their automotive journey, from RMS to cherished cars like the Histoal Blue 97 M3. Experience their passion for cars and family bonds in this engaging conversation.